Friday, November 30, 2007

Continuing on - More Stuffie Clothes!

So I also added another stuffie to the swap package to replace her little lost frog. Okay, so the one I added is not little :-)

But he's SO cute! All he needed to make him perfect was a cute little bow tie. And I couldn't find one without all this ridiculous sewing. Okay, if you want a perfect bow tie, you really do have to sew it. But since I was looking for cute, not perfect, here's how it ended up:


And since I'm really nice, I even wrote out a pattern of what I did!

Starting with the right side of the bow, chain 8 and then make 6 treble crochets into chain #4. Slip stitch and secure into chain #1. Slip stitch up the outside of the shape to chain #4.

Then, chain 3 and single crochet into each chain on one side, and then stick your hook and loop through the other side and single crochet into each chain on the other side.

To make the left bow, its a bit different. Chain 4, and do 3 treble crochets into chain #1. Then, make 3 treble crochets into the last single crochet instead of the chain.

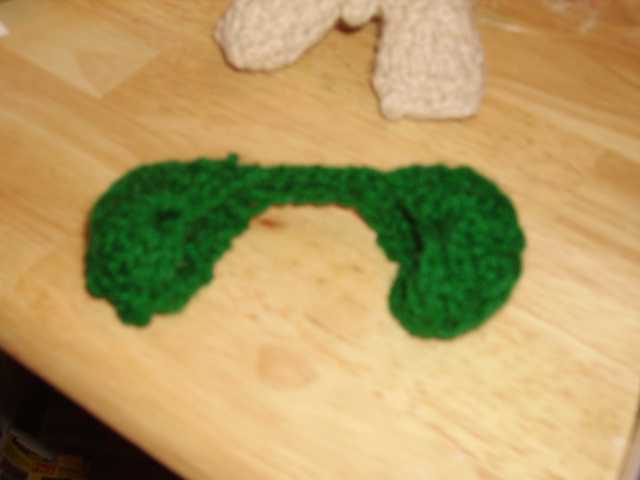
Next, you're going to create the strap and its security. Single crochet in a box shape around the "ball" in the middle of the tie. After completing the sc box (you should be on the bottom of it), chain 20 (or the appropriate neck size for the animal). Single crochet back to the bow tie. Make sure to single crochet into the bottom depending on where you started. Anchor a single crochet into the top of the box and slip stitch into each single crochet until the end of the strap.

Secure the strap to the bow by single crocheting into the top corner of the box, and then single crochet into the bottom corner. Fasten off and you've got a cute bow tie!


Elephant Earmuffs

So I've been very busy. My friends know I swore off swapping for a couple months, and then...

Anyway, I angeled for a really nice gal who's stuffie was whisked away from her in Little Visitor. I guess its part of the risk, but what a shame!

Anyway, I decided to make her a stuffie and buy one for her, and I think I assembled a nice package for her.

Part of the package was this adorable little elephant that I named Aliya (Sri Lankan for Elephant) - created from Romansock's cute little Pocket Elephant pattern:


But an elephant lives in the jungle! What was she going to do in Michigan? So I made her some winter gear!


These are her earmuffs, because I imagined an elephant would lose a lot of heat through her ears!

So if you'd like to make some cute earmuffs for your elephant, here's the pattern:

Start with the left side and chain 7. Do 9 treble crochets into chain #4. Slip stitch from the last treble crochet into chain #1.

Then, create the middle of the left side - single crochet back to chain #7 on the half moon side. In effect, this is what you are creating:


Then you're going to chain 7 and repeat. The only difference is you are going to anchor each treble crochet onto the single crochet stitches in the middle with a slip stitch.

So in effect, the instructions look like this: Chain 7, create treble crochet in chain #4, slip stitch into single crochet row, create treble crochet from the top (where you just slip stitched) and anchor into chain #4 with a slip stitch, and repeat until you have 9 total. When you're finished with the last treble crochet, anchor it with a slip stitch to the end of the single crochets.

Then you're going to create the brace at the top of the earmuffs. This one's easy - chain 10, single crochet 10 stitches, and chain 10 into the single crochets so you reach the end of the line.


Now this is where it gets a bit tricky. You're going to repeat the same steps you did to make the first muff but you need to make sure that you face the bottom/foundation chain to the middle! If you don't, you're going to end up with a twisted muff on the right side. And don't feel bad if you have to try it a couple times - even I had to and I designed the pattern!

(In case you forgot or prefer the shorthand, here's how to make the muff: ch 7, 9 tc in ch 4, sl st ch 1. ch 7, *tc in ch4, sl st to sc #1, tc in sc #1, sl st to ch 4* Rep * until 9 tc, sl st ch 1. (make sure to face bottom chain to the inside!).)

This pattern is also registered in Ravelry (look for me as cfbandit).