Showing posts with label patterns. Show all posts

Wednesday, November 25, 2015

Nous sommes le globe, a free knit hairband pattern


Thanksgiving is one of the most interesting holidays because it does so much to bring people together. In light of the attacks in France and other parts of the world, it makes me happy when people take an opportunity to join one another around the table in celebration of the things that bring us together instead of driving each other apart.

Several of my knitting friends are releasing new work to in honor of the people's creativity and love in France and Belgium. With a French theme, these projects are fun and light in what could be a dark world.

When I think of France, I think of the time I spent there. Luxury. Chic. Fashion. So I used some yarns that to me are luxurious, with alpaca and mohair (nice mohair, not 80s mohair). A simple repeat creates graphic repetition with a nearly mindless pattern that one can complete in as little as one night.

And with a nod to my French speaking and knitting friends, this pattern is in English AND French (merci à mes amis pour l'édition de ma traduction!):


Please be sure to check out some of the other patterns (all will be up by the end of the day on 25/11/15):
• Patriot Square Coast by American Crochet
• Fierte by Stitches N Scraps
• French Flag Graph by Creative Threads

If you are looking for donation opportunities to help support France and victims of terrorism throughout the world, here are a few options:

• The International Federation of Red Cross and Red Crescent Societies
• Croix-Rouge Francais
• Secoirs Populaire
• Doctors without Borders / Medecins Sans Frontieres

By the way, if you're wondering - "Nous sommes le globe" means "We are the world". One world, all standing together against radicalism.

Thursday, June 23, 2011

Much Less Frilly Moccasins - Additional Explanation

If you're looking for the original pattern, it can now be found on Ravelry!

I've sent this to a few people on Ravelry, so I thought it might deserve some follow up attention because I think it might be confusing people, and I've slightly altered how I do them to make them more secure on the sides.

Most people do simple slippers as rectangles. Fold and Sew. I've found I don't like that style, as it leaves a weird elf-like quality to the slippers. So I do mine differently - a circle and a rectangle put together, like this:

The problem is that I think people are viewing it is a flat circle, when its not. Its in the round, like a cup. So you are always joining, they doing the chains.


The circle is at the front of the slipper, and the rectangle is at the bottom, like this:


If you can imagine it, you look at the circle in front of you and the rectangle flows behind.

Hopefully it makes sense that the circle looks like a cup when done correctly. A flat circle will have to be folded to make the shape.

So the instruction which I need to update is that at the end, I now take my sewing needle and sew a couple of the hdcs up each side of the circle giving it more definition.

Look for next month I'll do some step by step photos - this really is easy!

Wednesday, October 14, 2009

The Pavement Neckwarmer

Front


SSPX0146
Originally uploaded by roostercf


Back


SSPX0147
Originally uploaded by roostercf


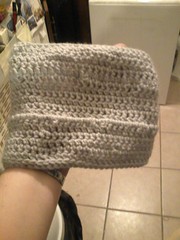
A quick project, a neckwarmer for the husband. The pattern only has two lines across a five row repeat, and then a switch in direction.

Worsted Weight Yarn (I used a mystery grey wool I had laying around)
Yarn Needle
Size F Crochet Hook

(US Terminology)

Chain 30.
Chain 2 at the beginning of every row.
Extended single crochet across row.
Every five rows (as in, 1,2,3,4,5 then this one), do one row of front post extended single crochet.
Stop when desired width is reached.

Extended Single Crochet down width side of project.
Every five rows of Extended Single Crochet, do one row of alternating front post extended single crochet and back post extended single crochet.

Stop when desired length is reached. Leave a long tail.
Sew together and weave in ends.

Simple, tidy, just enough ornamentation to make me not want to go crazy but simple enough the man still likes it.

Monday, January 26, 2009

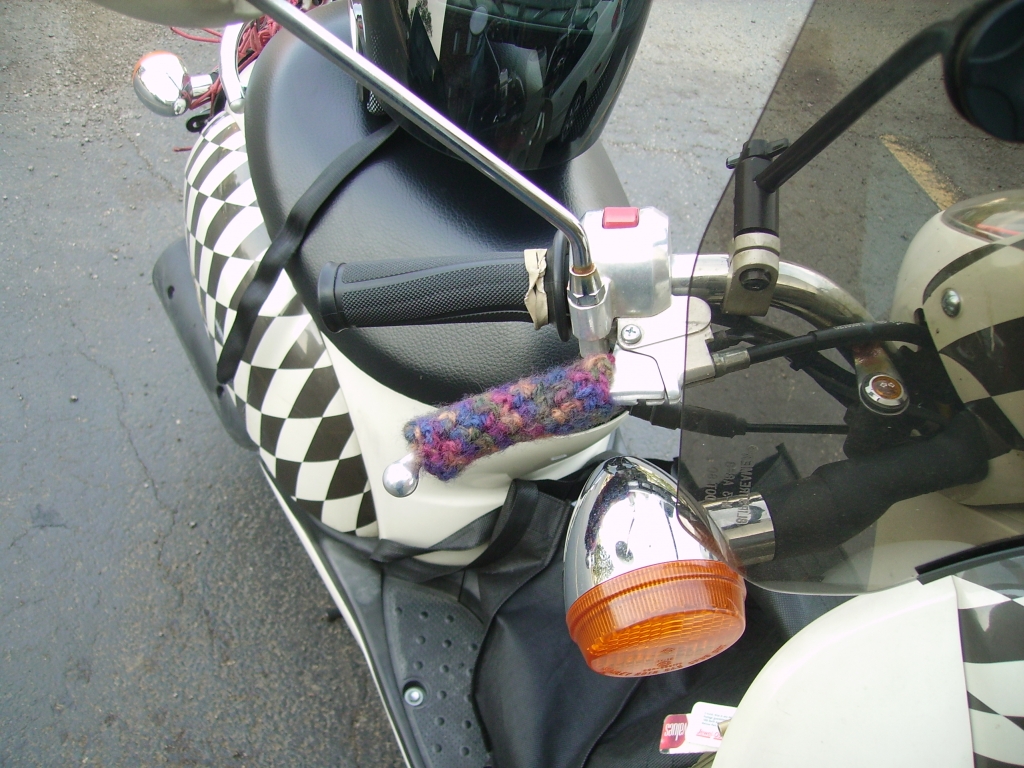
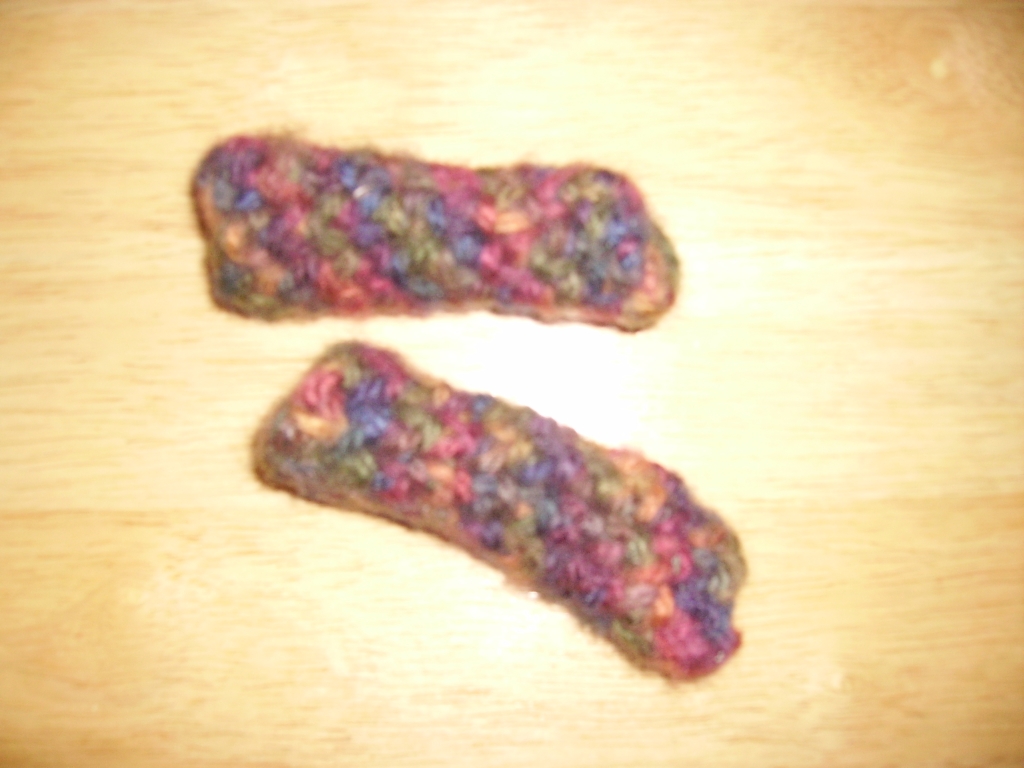
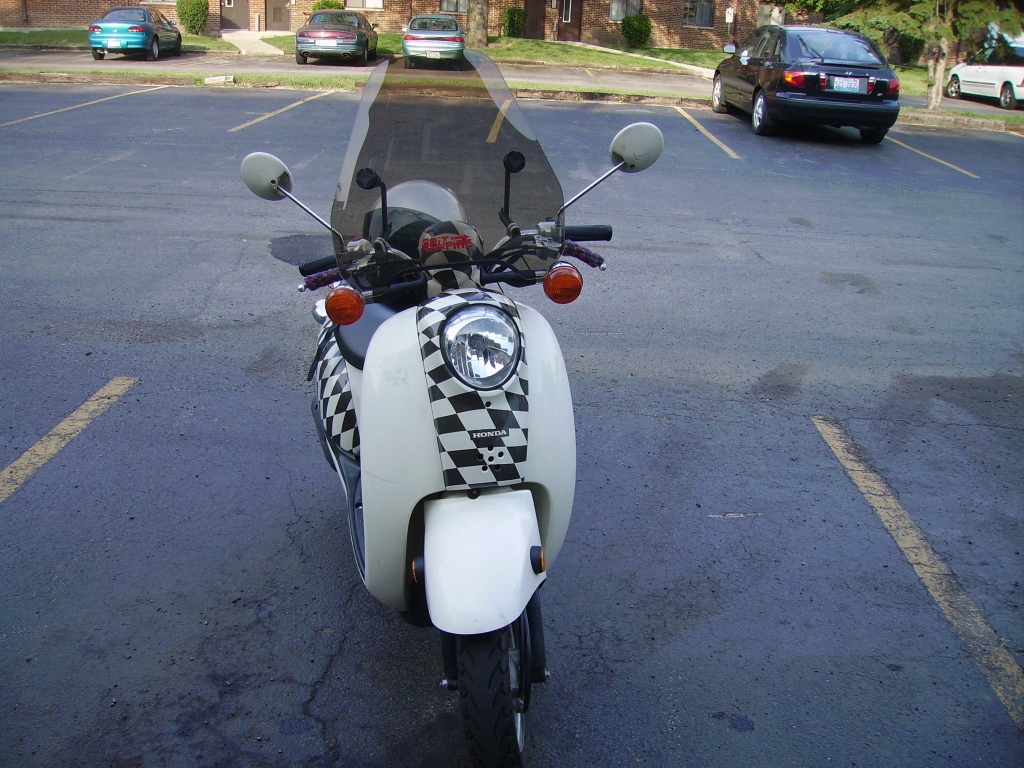
Vroom! Motorcycle Handle Covers


I hate when I forget to make a post!

I made these this past fall. They're super easy to do -

1. Measure the circumference and the length of the handle being covered.

2. Multiply that by the number of stitches per inch from your normal crochet gauge. In Jiffy Print, the yarn these are made of, that's 3.5 stitches/inch. With a 1.25 inch circumference, that's about 4.2 stitches around, rounded to five to make sure it slides on and off when needed.

3. Using an J hook, chain 5 and join to make a circle.

4. Do single crochet until you have reached the proper length of the cover. In this case, about 4 inches - 4.5 inches.

5. Bind off and go slip them on!